Here's the thing: I have a lot of opinions about kid's birthday parties.
I don't do characters.
I won't send kids home with a bunch of crappy trinkets their parents either have to find a place for or surreptitiously throw away.
I also won't send them home with tons of candy they will relentlessly beg their parents for.
I don't want a dozen kids bringing a dozen presents for my birthday child on top of everything they've already received from us, grandparents, aunts, uncles, family friends.
I don't think you need to spend a ton of money for kid's parties, and I still think simple is best.
Handmade is best.
Creativity is best.
I want them to reflect genuine values or interests that we have.
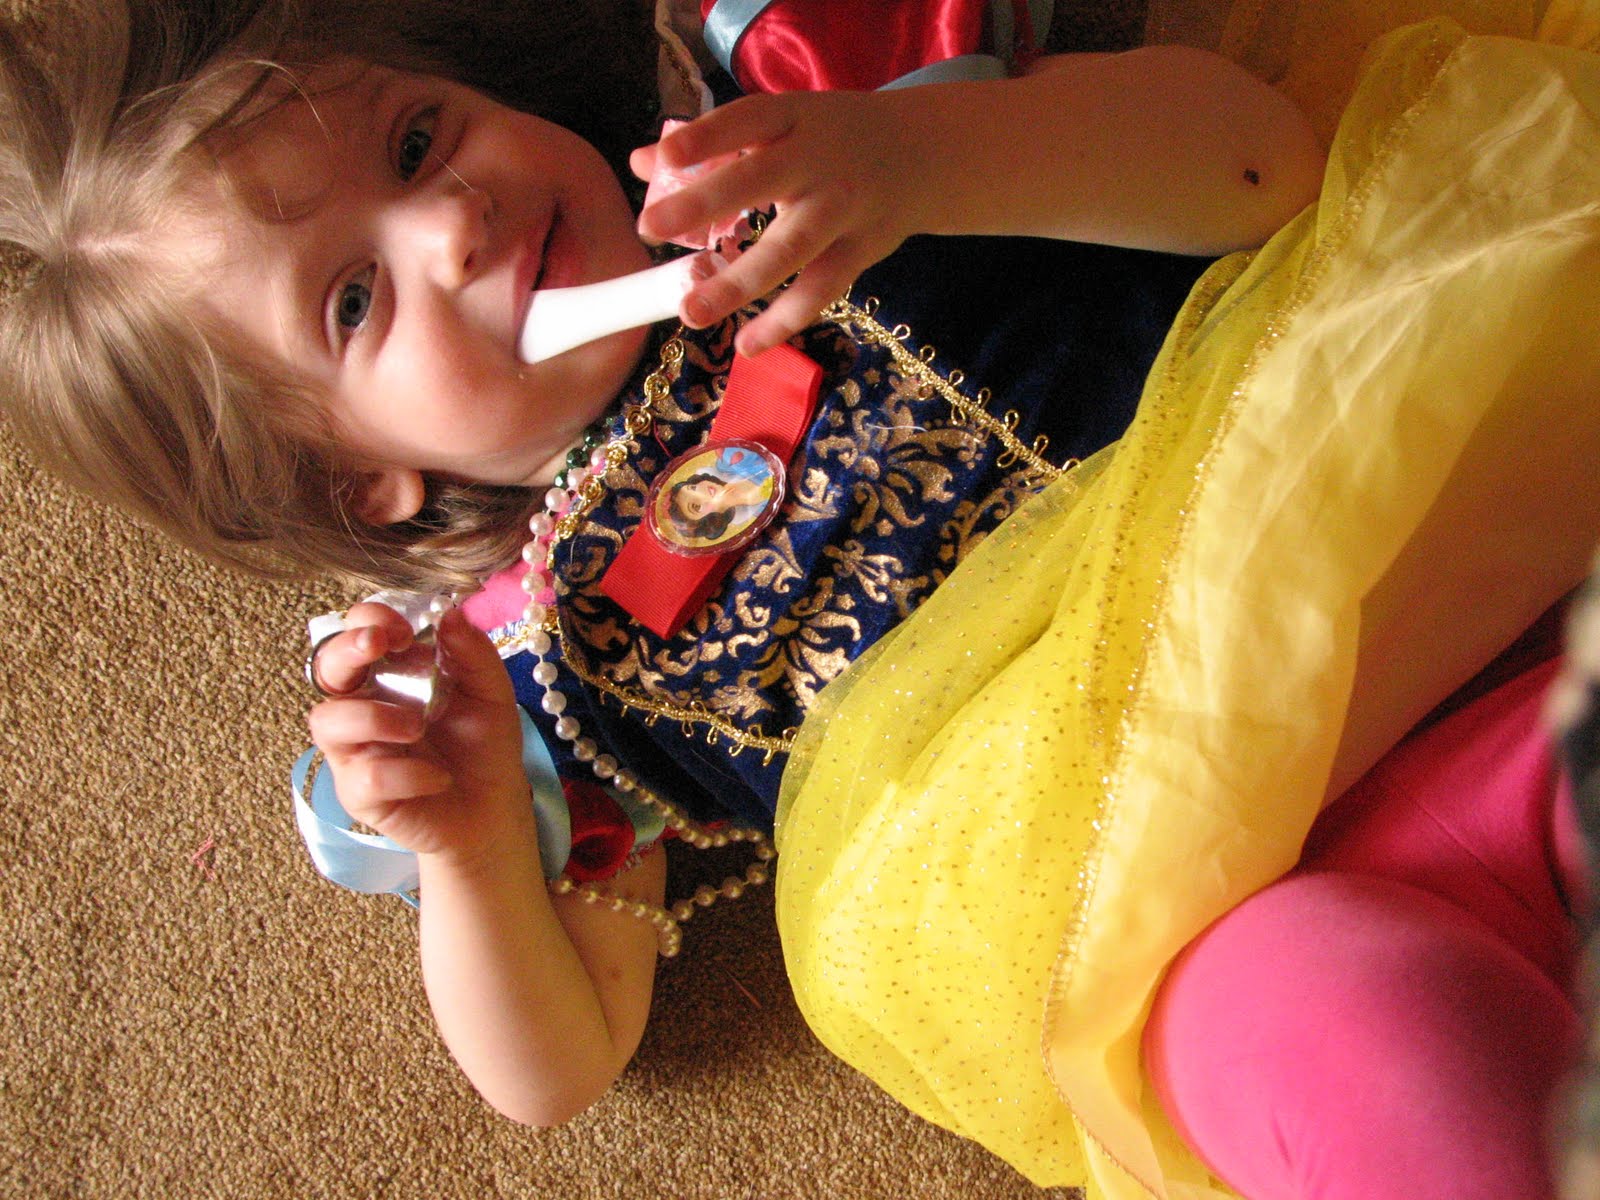
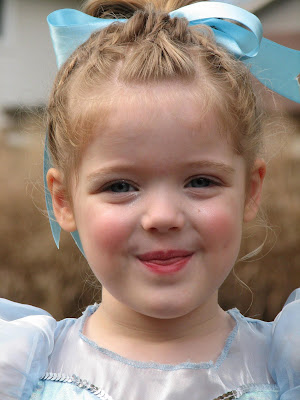
So that said, here is the party I put together for Bella. I am fortunate that she is tractable and still trusts all my ideas. I just pitch my idea with excitement, and she's on board.
And thus, the book party was born.
Invitations:

I bought a few children's books at Goodwill for buy one, get one free and ended up using them for many things for the party. First, I cut and then sewed them into simple flap envelopes for the invitations. For fun and interest I mixed and matched the front and backs of the envelopes from different books.

The actual invitations were downloaded and printed from Family Fun here .


Decor:

I relied mostly on books and other props we already owned for the decor, and used pages from the books I bought at Goodwill to make several banners with some bias tape.

(Doll I made and an elephant Michelle made for Bella's birthday)

I just piled books onto a plate rack in my kitchen and then strung it with a mini book page banner I made with some thin double-fold bias tape.


I made this banner from inspiration here.
I love the way it twirls and spins all the time. It's like art in motion.

Above the window I made a 'Happy Birthday Bella' banner with a scrabble font, with a large book page pennant banner beneath that.

And under that, a book page wreath from this tutorial.


Warning: It took forever to make. And it's still not done. I had to stop because of time constraints and I ran out of hot glue. This was by far the most time consuming part of the party preparation.


Activities:

I set up the table with some activities to keep the kids occupied while we waited for everyone to arrive. It generally takes about 20 minutes for everyone to arrive and I can't stand having a dozen kids run helter skelter all over my bitty house. I put out a bowl of scrabble tiles for the dual purpose of cuteness and manipulatives for the kids, and was surprised how much they played with them, spelling words.

I printed out kindergarten-level word searches (a favorite of Bella's) and some Dr. Suess coloring pages to keep them busy. They loved them!

After everyone arrived, I split the kids into 2 groups. One group stayed at the table and made bookmarks, all with craft supplies I had on hand: markers, foam stickers, scrapbook paper, paper flowers, ribbon, and rubber stamps and ink.


Meanwhile, I helped the other group with a 'Book Treasure Hunt' I made up.

I started by exclaiming that books were all treasures- of knowledge, imagination, adventure, and experiences and that we were going to find some of the treasures in these stories.

I made up 10 different clues that I glued in the back of each book. For instance, the first clue was "This friend should not be about while your mother is out!" (The Cat in the Hat) I gave them the first one, so the next clue was in the back of The Cat in the Hat and they had to work together to figure out all 10 books in order. Sometimes they could guess from the title, sometimes someone had read the book, and sometimes I had to nudge them in the right direction.

It was definitely most fun for the kids who were proficient and liked reading. (Bella loved it.)

I made these nerdy treasure maps to try and reinforce my somewhat contrived idea. At each number they wrote in the name of the book for that clue.
Their 'treasure' at the end was their favor bags. (More on those later-)

The third activity was probably their favorite.We played a book version of a cake walk. I scanned and printed full page book covers of some of our favorite books. I also printed smaller versions, like these fit on a sheet of paper. I laminated the full-size sheets and used them for the spots for the kids to stop on. I used the smaller ones folded in a paper bag as the 'call books'. (They moved around the books to They Might Be Giants album, 'No'.)

The best part was when their book was called, they each got to pick out a book to open. On the invitation, I asked the parents to bring a wrapped book for a book exchange in lieu of a gift. They were so excited to pick out a book and that everyone had a gift to open at the party. I was thankful for meaningful gifts for each of the kids and that Bella wasn't left with a pile of cheap toys she doesn't need.
Food:
Once again, I kept it simple. I love when I see huge dessert buffets at parties on blogs, and I love dreaming of various treats to make and how to arrange and display them. However, I don't want to spend a ton of money and more importantly, I don't want to feed the kids 50 kinds of sugar.

Small water bottles, covered in old book paper.

I ended up making cupcakes and a cake because I wanted to make sure we had enough. There were 13 kids and I wanted leftovers of my favorite cake in the world.

For the cupcakes I used the thumbnail versions of the book covers we scanned and used them for cupcake toppers.


Favors:

I cut off the bottom of a paper bag and sent it through my printer to put my quote on it. Then I zigzag stitched the bottom closed, and after filling it with goodies, stitched the top closed.

I bought some Dr. Seuss pencils on Amazon, printed some bookplates from here and made some bags of 'Book Worms'. (Just enough of a treat that they won't be begging for it for days on end, and bookplates and pencils that they can actually use. Plus a new book!)


And the grand total for the whole party was $53.37 total. Not too bad!
Best of all, Bella had a great time with her friends. I gotta say, it's a whole lot of work for an hour and a half party! It made me think, what have I started? I've done a party like this for the last 4 years, but I don't think I can do one every year for both of my girls! Not that I have any shortage of ideas though...I already have 3 or 4 ideas I'm batting around for next year.